A Complete Beginner's Guide to Wheel Throwing: Your First 10 Hours on the Wheel
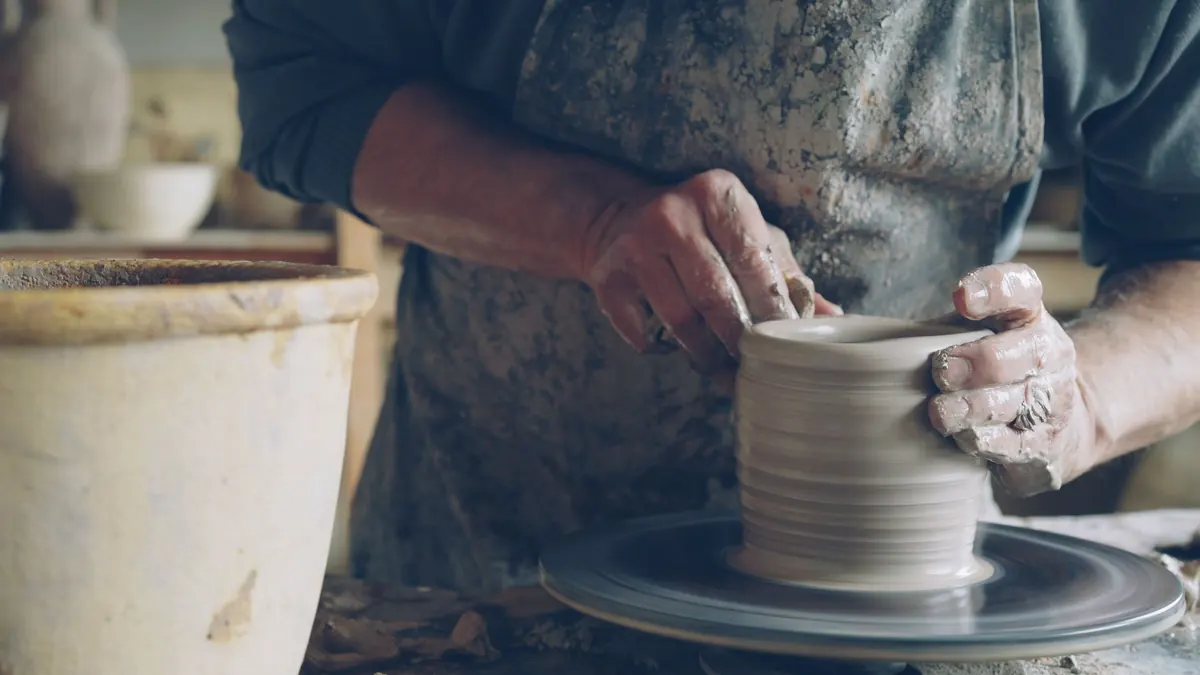
Your first pots will be terrible. The clay will drift off centre, a wall will collapse under your thumb, and a cylinder that looked fine will fold the moment you try to shape the rim. Every potter goes through this, and the order in which things go wrong is fairly predictable. That is good news: it means you can practise in an order that fixes them.
Get Set Up Before You Touch the Clay
Most beginner problems start before the wheel turns. Five minutes of preparation makes the throwing itself far easier.
- Weigh your clay. Around a kilogram is the sweet spot for a first cylinder. Smaller lumps are surprisingly hard to control; much larger ones demand strength and skill you have not built yet.
- Wedge it properly. Air pockets and uneven moisture cause wobbles on the wheel and blow-ups in the kiln. Ask for a demonstration if you are unsure — it is worth the ten minutes.
- Set your seat height. Your forearms should rest against your thighs or hips with your elbows tucked in, not flapping in the air. If you are stretching to reach the wheel head, raise the seat.
- Keep water to a minimum. A small bowl and a sponge are plenty. Flooding the clay makes it slick and weak, and weak clay collapses.
- Slow the wheel down for everything except centring. Fast for centring, slower for opening and pulling.
Trim your nails, wear an apron, and lay your tools out where you can reach them without standing up.
Centring: The Hardest Skill You Will Learn First
Centring is where beginners quit. It is also the foundation of everything else: an off-centre lump will never become a symmetrical pot, however carefully you pull it.
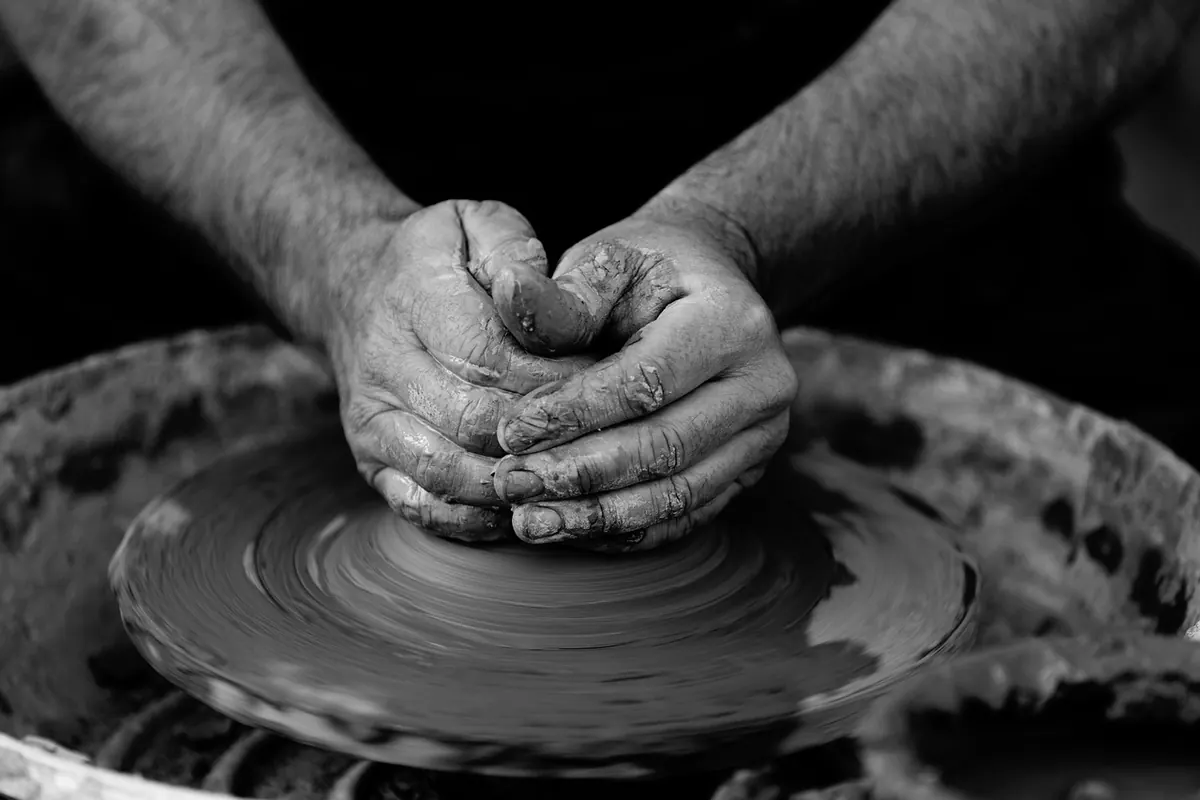
The sequence is simple, though not easy. Press the clay firmly onto the wheel head so it sticks. With the wheel spinning fast and your hands wet, lean into the clay with the heels of both hands, elbows braced against your thighs, and push it down and slightly inwards. Bring it up into a cone, then press it back down. Do that twice. Coning up and down lines up the particles in the clay and evens out its moisture.
Then, with one hand pressing in at the base and the other supporting the outside, squeeze until the lump stops fighting you. Test it by holding your hands still: if the clay pushes into one hand and pulls away from the other, it is still off centre. Keep the same pressure for two full rotations before you change anything. Centring is done when the clay spins past your hands without moving them.
Opening and Pulling: Where the Cylinder Comes From
Opening
Once the clay is centred, slow the wheel. Press your thumbs or fingers down into the middle of the lump, leaving about a centimetre of clay as the floor. Open that hole outwards, working your fingers from the centre towards you, until the base is the width you want. Keep the floor flat and even — a thick, lumpy base is heavy and awkward to turn later.
Pulling the walls
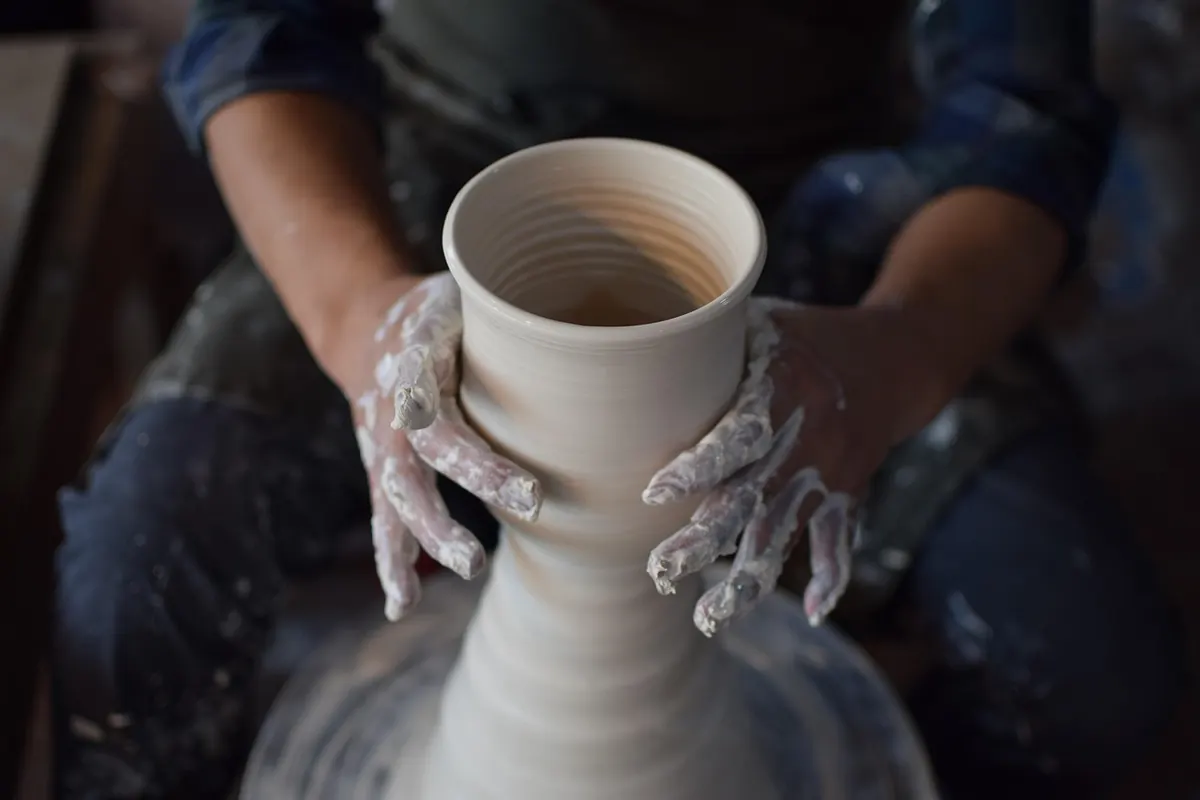
Pulling is a squeezing, lifting motion, not a stretching one. Start at the base, never at the rim. Put the index finger of one hand inside the cylinder and your other hand on the outside wall directly opposite. Squeeze gently, then draw both hands upwards together, easing the pressure as you rise. You are thinning the wall as you lift it.
Keep the rim slightly thicker than the wall below it. The rim is the grip for your next pull, and a thin one will collapse or flop out of shape. Three pulls is plenty for a small cylinder. More passes rarely make a better pot; they make a thinner, wobblier one. Finish by running a wooden rib up the outside to smooth the surface, then sponge the water out of the inside base before you cover the pot.
A Plan for the First Ten Hours
Throwing is a physical skill, and your hands learn by repeating one thing. Try not to move on until the current step is boring.
- Hours 1–2: centre only. Do not open anything. When the clay is centred, stop the wheel and cut the lump in half with a wire. Study the cross-section — it teaches you what centred clay actually looks like.
- Hours 3–4: centre and open. Make short, wide, flat-bottomed pots with no pulls at all.
- Hours 5–6: pull walls. Aim for even thickness rather than height. A squat, even cylinder is a success.
- Hours 7–9: make the same cylinder eight or ten times. Same weight of clay, same shape, no exceptions.
- Hour 10: add rims and shaping. Cut pots off the wheel head with a wire, not a knife, and let them firm up before you handle them.
Troubleshooting the Usual Disasters
- It will not stay centred. Usually too much water, clay that is too soft, or elbows floating in the air. Brace your arms, use less water, and slow your breathing.
- The base is too thin. You opened too deep. Leave at least a centimetre of clay for the floor; you can always remove more when turning.
- The wall thins towards the bottom. You are pulling too fast at the start of the stroke. Begin slowly, with less squeeze.
- The cylinder collapses halfway up. Too thin, too tall for the weight of clay, or too wet. Stop shorter and pull the pot once more after it has firmed slightly.
- The rim goes floppy and thin. You are squeezing it too hard on the final pull. Ease off at the top and firm it with the rib.
- Fine cracks appear in the base as it dries. These come from drying too fast and from a base that is too thin or insufficiently compressed. Cover pots loosely with plastic and keep them away from draughts.
Keep the Bad Pots
Nothing you make in your first ten hours is likely to be worth keeping in the way you imagined. That does not make it wasted. Cut your failures in half and look at them, keep a reclaim bucket for clay that has gone too far, and photograph the pots that worked so you remember what your hands did.
If a pot is too soft to stand up, wedge the clay and throw it again in the same session. If it collapses, scrape it off the wheel head and start once more. Turning and glazing can wait until you can make a cylinder you are not embarrassed by, and that day arrives sooner than you expect. If your wrists, back or shoulders start to ache, stop and adjust your setup rather than pushing through — throwing is repetitive work, and it is worth getting your posture and seat height right before discomfort becomes a habit.
Photo: Vitaly Gariev / Pexels